
How to Precisely Apply Lightroom Gradients
2025-04-14


How to Precisely Apply Lightroom Gradients
As a photographer, one of the most powerful tools you have at your disposal is Adobe Lightroom. This software allows you to make precise adjustments to your images, enhancing their quality and bringing out the best in your work. One of the features that can have a big impact on your photos is the gradient tool. In this blog post, we will explore how to precisely apply Lightroom gradients to take your images to the next level.
Introduction to Lightroom Gradients
Lightroom gradients are a versatile tool that allows you to apply adjustments to specific areas of your image. You can use gradients to enhance the sky in a landscape photo, add drama to a portrait, or create a more balanced exposure in a high-contrast scene. By using gradients, you can make targeted adjustments that bring out the best in your images.
Practical Tips for Using Lightroom Gradients
1. Select the Gradient Tool
To start using gradients in Lightroom, you will first need to select the gradient tool. You can find this tool in the Develop module, located in the toolbar on the right side of the screen. Once you have selected the gradient tool, you can click and drag on your image to create a gradient.
2. Adjust the Gradient
After creating a gradient, you can adjust its position, size, and feathering to precisely target the area you want to edit. You can also add multiple gradients to your image to make complex adjustments. Experiment with different settings to see how they affect your image.
3. Use Different Types of Gradients
In Lightroom, you can choose between three different types of gradients: linear, radial, and brush. Linear gradients apply adjustments in a straight line, radial gradients apply adjustments in a circular pattern, and brush gradients allow you to paint adjustments onto specific areas of your image. Each type of gradient has its own unique uses, so experiment with all three to see which works best for your image.
4. Fine-Tune Your Adjustments
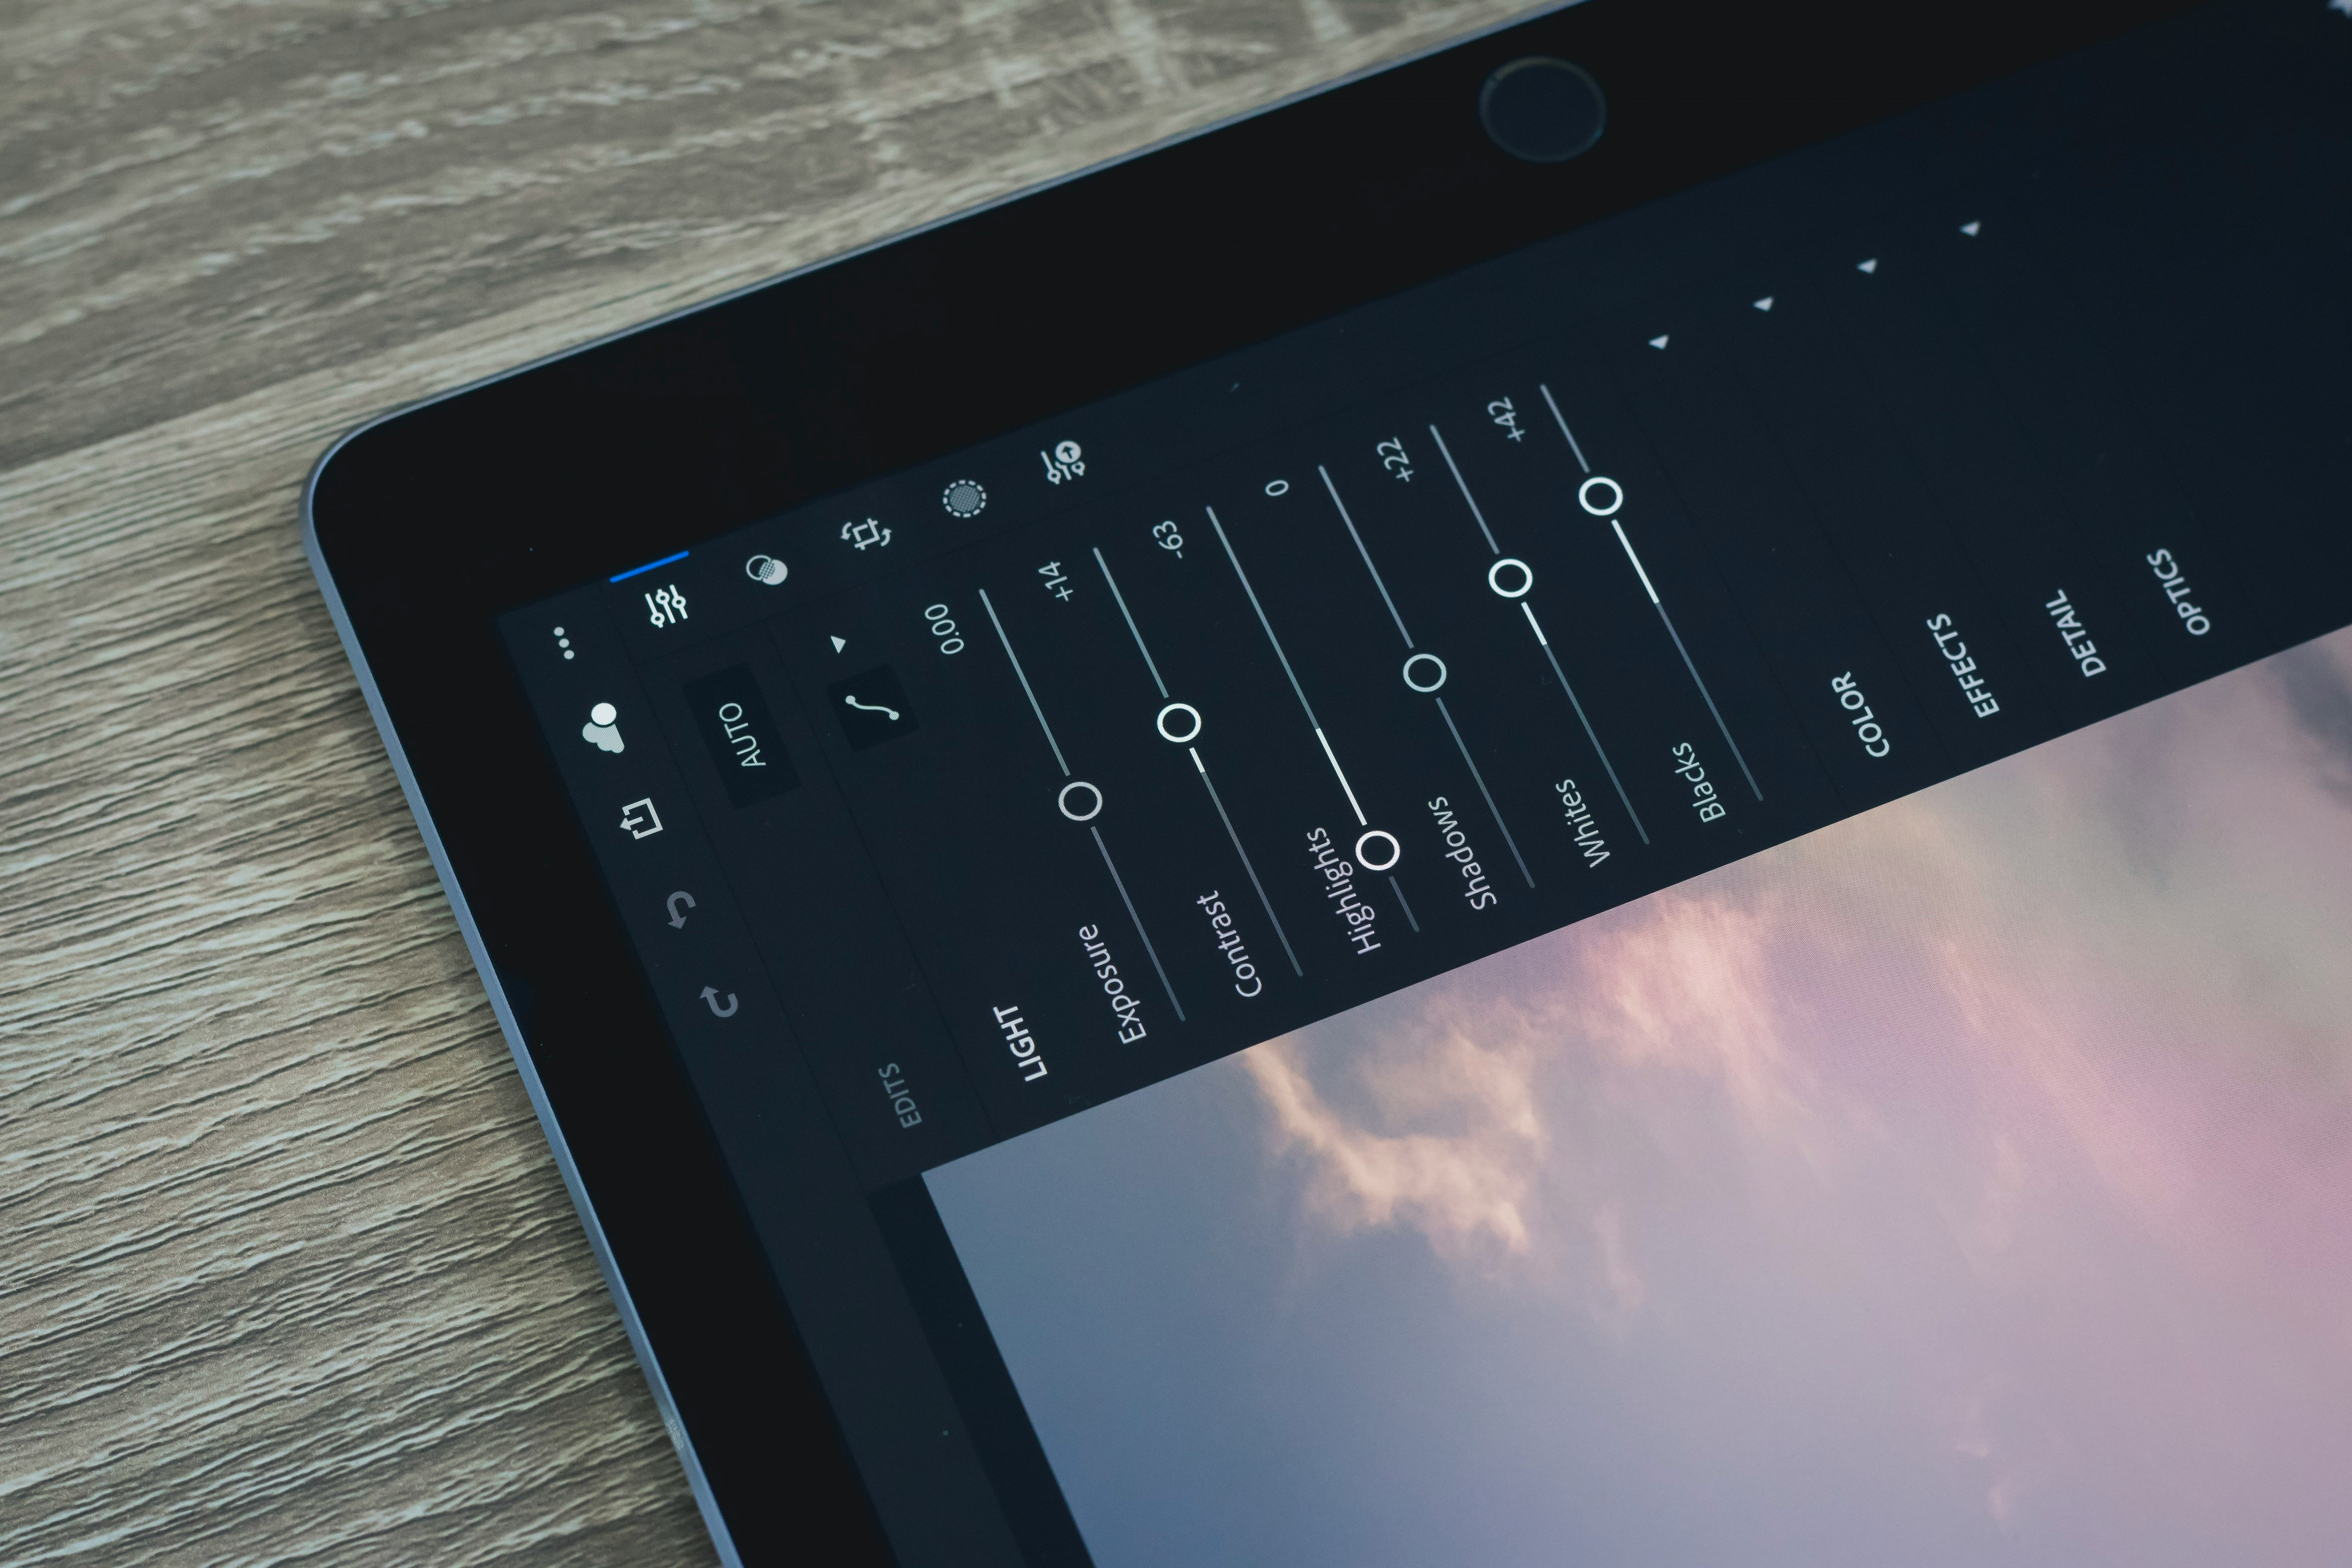
Once you have created a gradient and made initial adjustments, take the time to fine-tune your edits. Use the sliders in the gradient panel to adjust exposure, contrast, highlights, shadows, and other settings to achieve the desired look. Pay attention to how your adjustments affect the overall balance and mood of your image.
5. Save Your Presets
If you find yourself using similar gradients frequently, consider saving them as presets. This will allow you to quickly apply the same adjustments to multiple images, saving you time and ensuring consistency in your editing workflow. To save a preset, simply click on the "+" icon next to the presets panel and give your preset a name.
Conclusion
Lightroom gradients are a powerful tool that can help you make precise adjustments to your images. By following the practical tips outlined in this blog post, you can learn how to use gradients effectively to enhance your photos and take your editing skills to the next level. Experiment with different types of gradients, fine-tune your adjustments, and save your presets to streamline your editing workflow. With practice and patience, you can master the art of applying Lightroom gradients and create stunning images that showcase your unique vision as a photographer.