
How to Use The iPhone Portrait Mode
2025-05-03

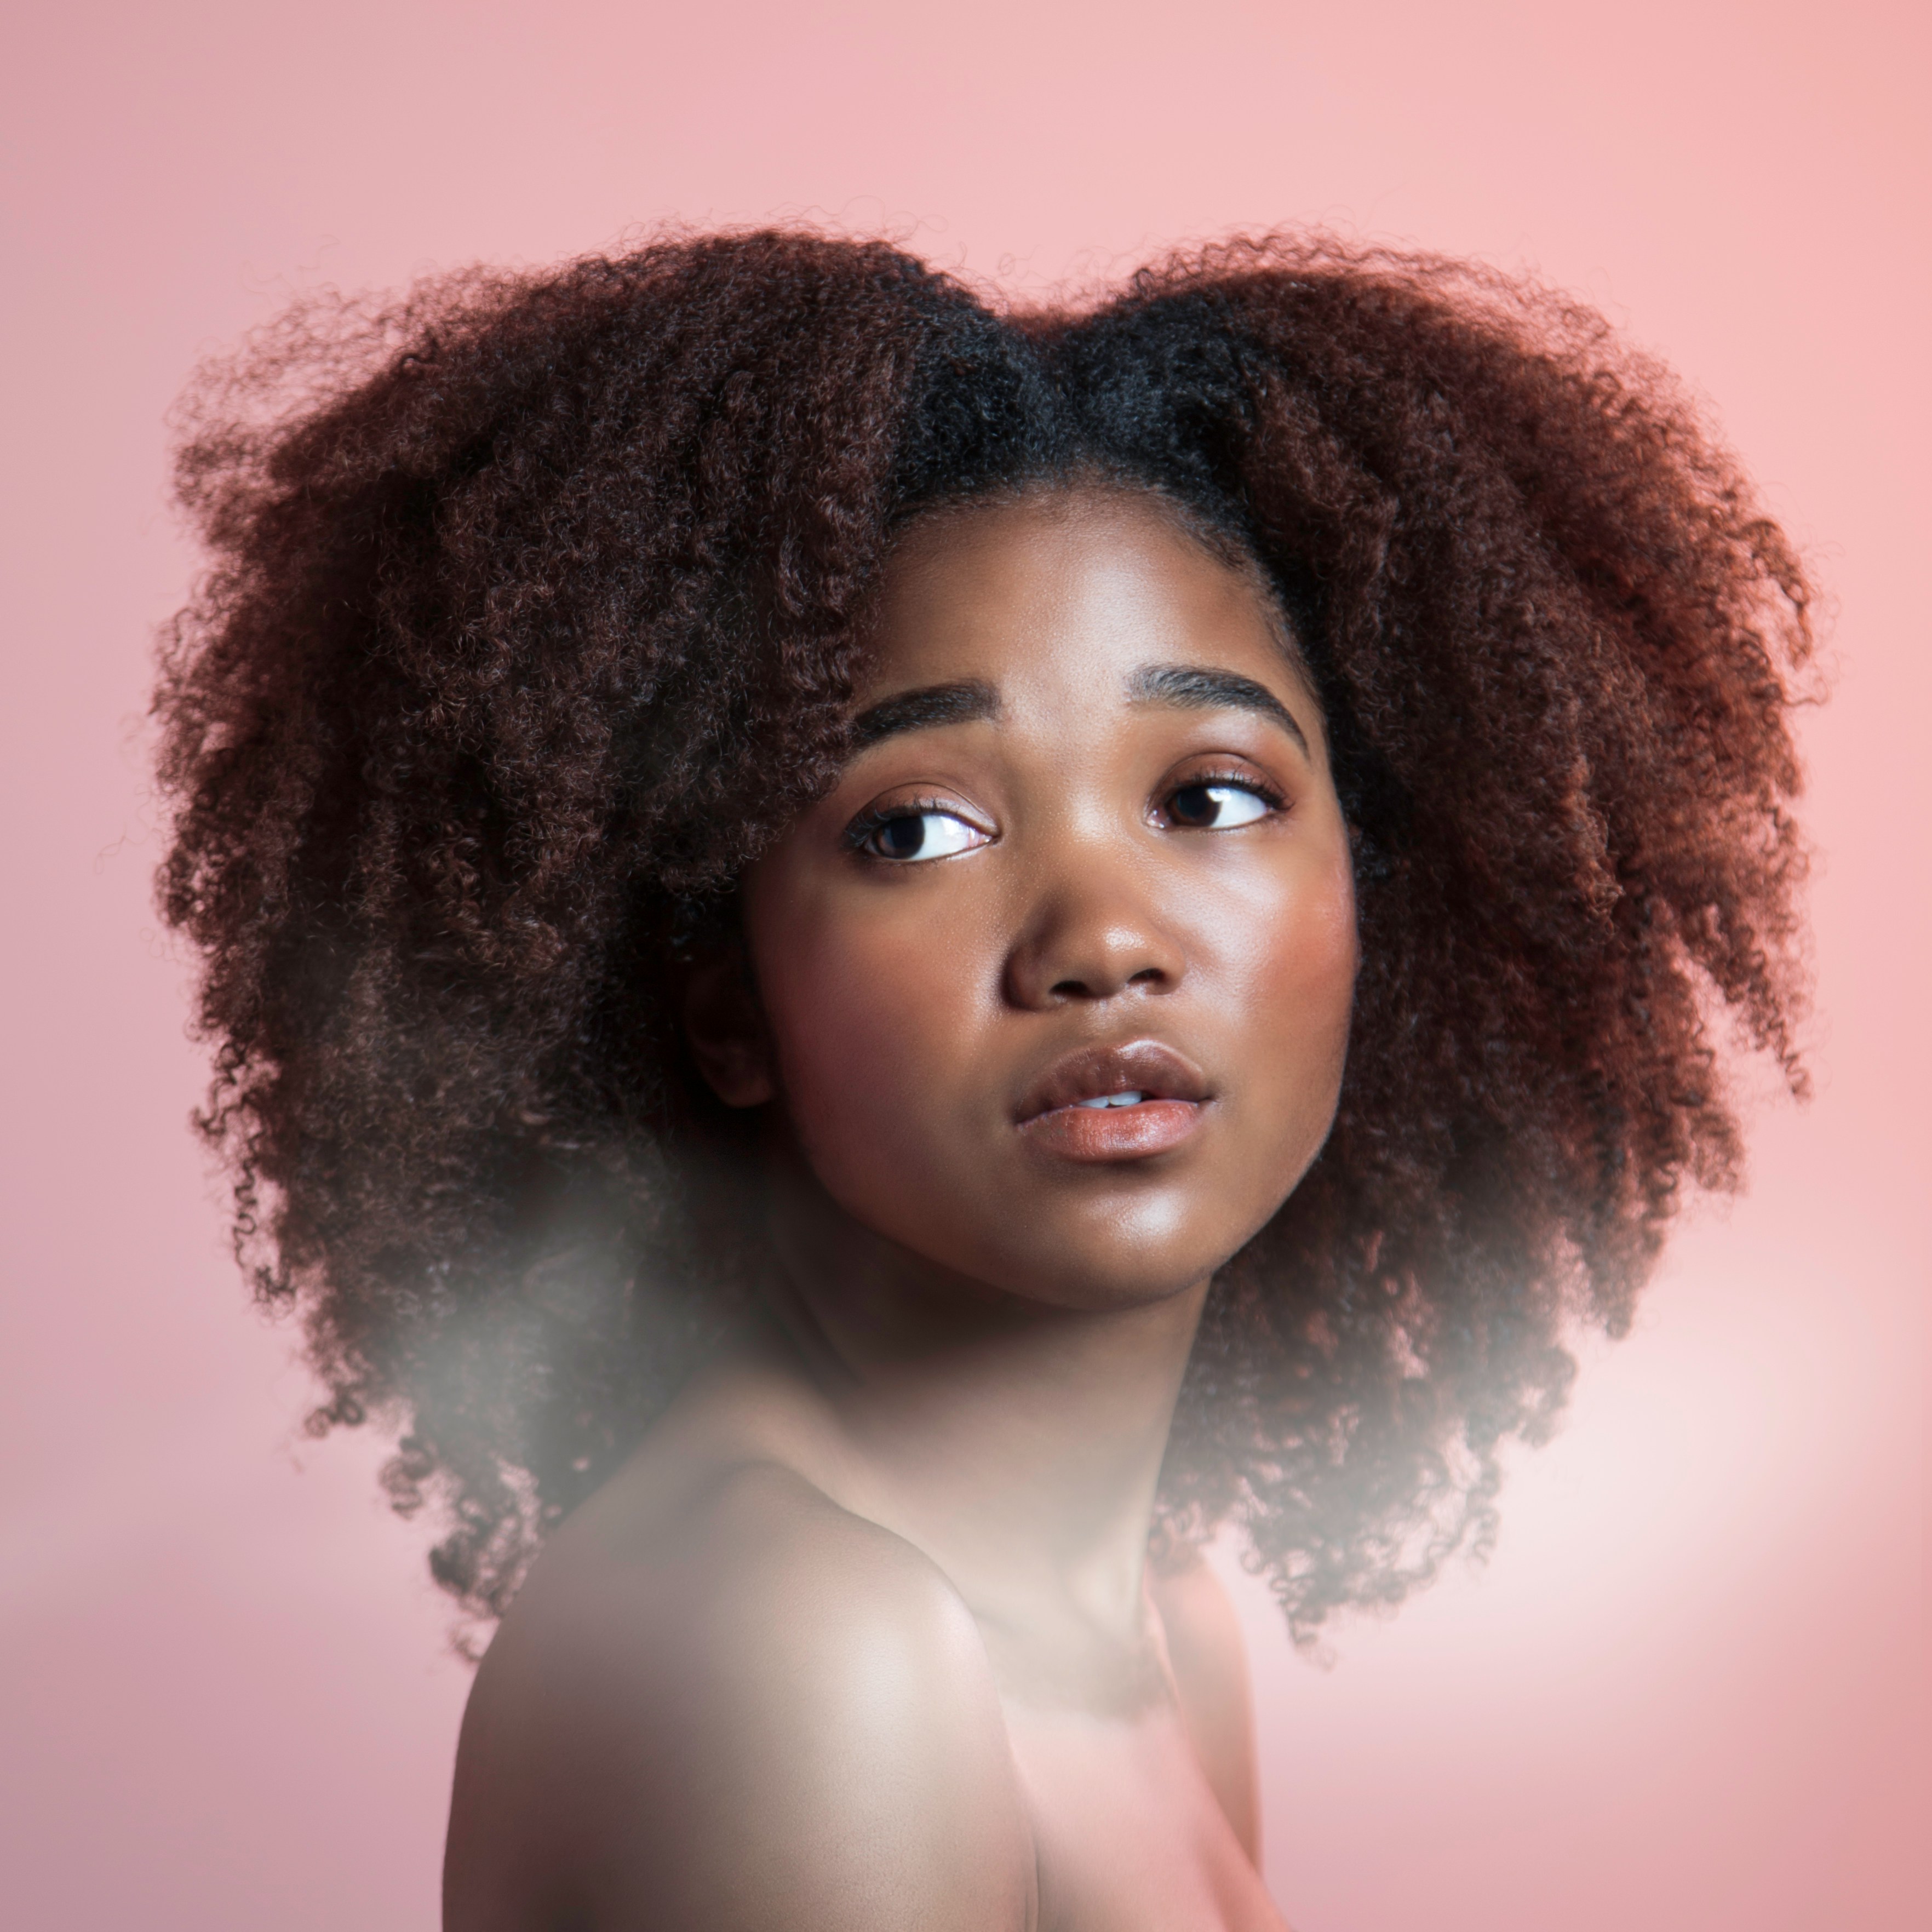

How to Use The iPhone Portrait Mode for Photographers
In recent years, smartphone technology has advanced significantly, allowing photographers to capture stunning images with their mobile devices. One of the most popular features among iPhone users is the Portrait Mode, which allows you to take professional-looking photos with a blurred background effect. In this blog post, we will guide you through how to use the iPhone Portrait Mode effectively and provide practical tips to help you enhance your photography skills.
Introduction to iPhone Portrait Mode
The iPhone Portrait Mode was first introduced with the iPhone 7 Plus and has since become a staple feature on newer models. This mode uses the dual-camera system to create a depth effect by blurring the background while keeping the subject in focus. The result is a beautifully composed image that mimics the look of a professional DSLR camera.
To access the Portrait Mode on your iPhone, simply open the camera app and swipe to the "Portrait" setting. You can then adjust the aperture using the slider at the bottom of the screen to control the amount of background blur. Additionally, you can choose from various lighting effects, such as Natural Light, Studio Light, Contour Light, and Stage Light, to further enhance your portrait shots.
Practical Tips for Using iPhone Portrait Mode
-
Choose the Right Subject: When using the Portrait Mode, it's essential to select a well-defined subject that stands out from the background. Look for interesting textures, colors, and shapes that will make your image visually appealing.
-
Pay Attention to Lighting: Good lighting is crucial for capturing great portrait shots. Avoid harsh sunlight or shadows, as they can affect the overall quality of your image. Instead, opt for soft, diffused light, such as during golden hour or in a shaded area.
-
Experiment with Angles: Don't be afraid to try different angles and perspectives when using the Portrait Mode. Get down low or shoot from above to create unique compositions that highlight your subject's features.
-
Use the Rule of Thirds: To create a well-balanced composition, try positioning your subject off-center using the rule of thirds. This technique will help draw the viewer's eye to the focal point of your image.
-
Focus on Details: Take advantage of the close-up capabilities of the Portrait Mode to capture intricate details and textures. Whether you're photographing a flower, a pet, or a piece of jewelry, make sure to showcase the fine details that make your subject unique.
-
Edit Your Photos: After taking your portrait shots, don't forget to edit them using photo editing apps like Lightroom or VSCO. Adjust the exposure, contrast, and colors to enhance the overall look of your images.

Conclusion
In conclusion, the iPhone Portrait Mode is a powerful tool that can help photographers capture professional-looking images with minimal equipment. By following the practical tips outlined in this blog post, you can elevate your portrait photography skills and create stunning images that will impress your audience. So next time you're out shooting, don't forget to activate the Portrait Mode on your iPhone and experiment with different techniques to take your photography to the next level. Happy shooting!